One-Touch Live Streaming With the LiveU Solo
GETTING STARTED WITH THE SOLO IS SUPER-EASY. TO BEGIN:
- Go to LiveU’s dedicated Solo page and create your free account. Connect your Solo to the internet using the method of your choice.
- Enter the serial number of your Solo to associate it with your account. Once it’s registered, you can configure it to your needs.
STREAMING TO LIVEU STUDIO
- Choose what service to stream to.
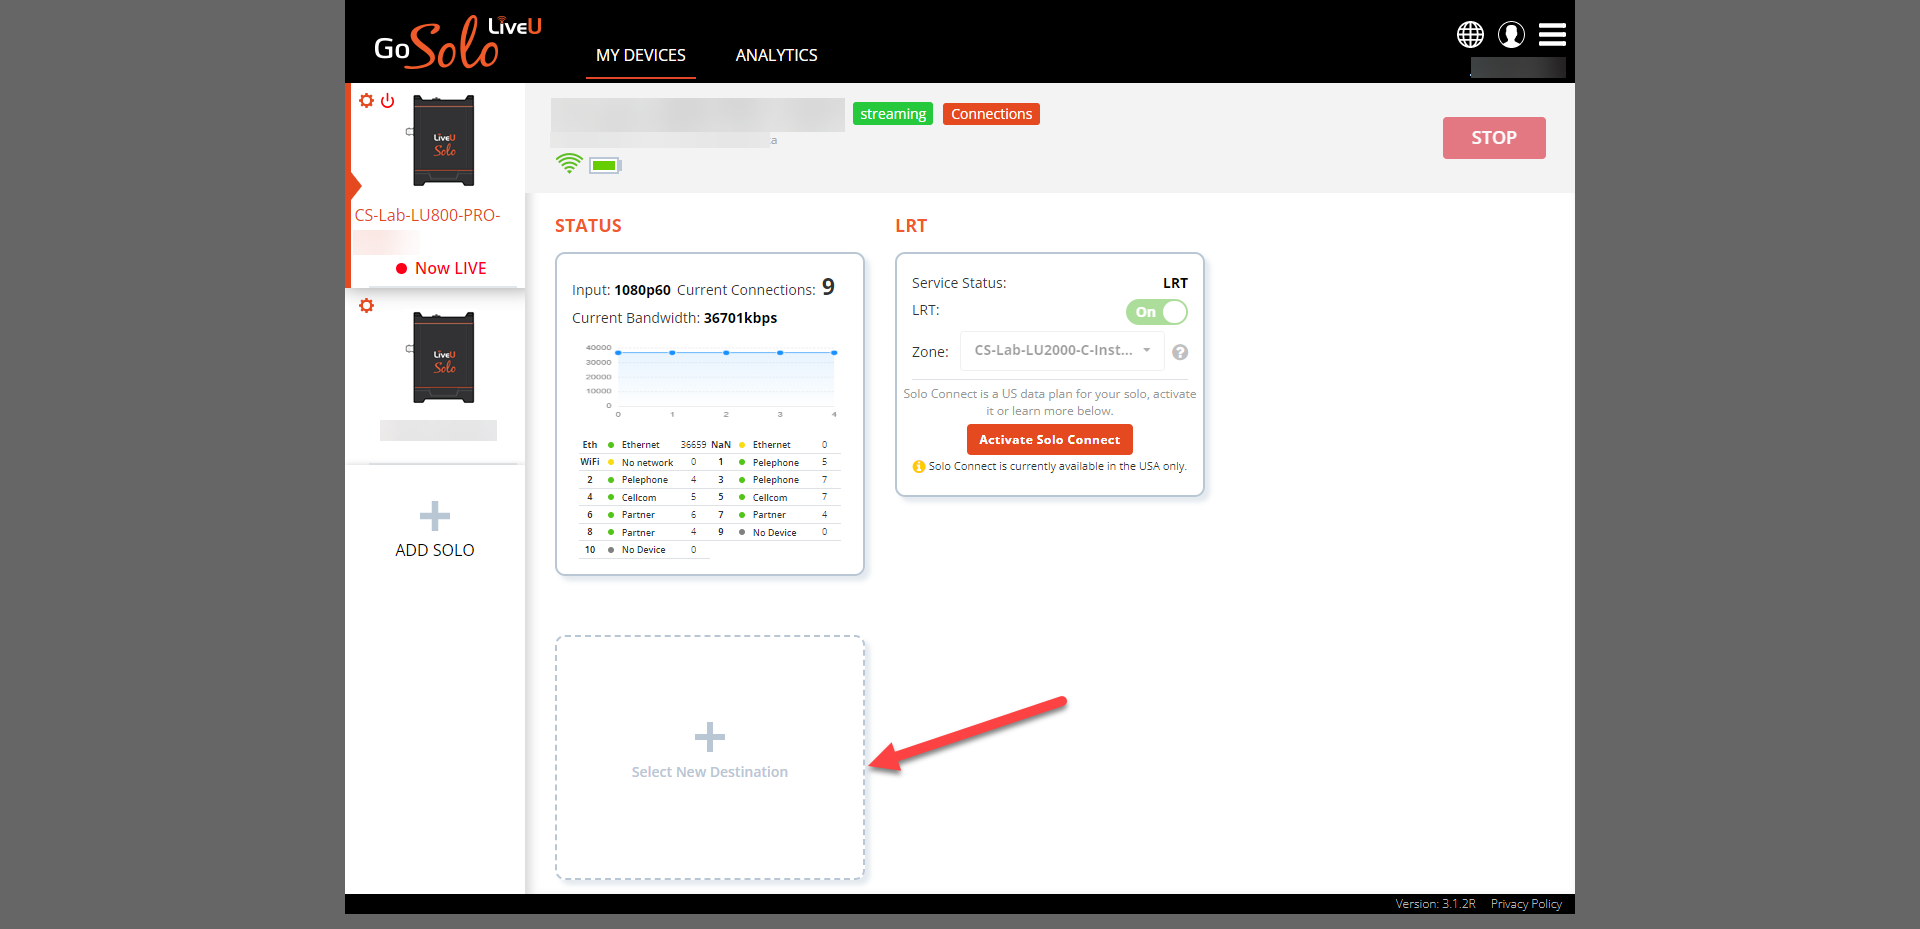
- Select RTMP (Generic) in the destinations list.
Open LiveU Studio
- Create a live event in LiveU Studio and Start the Testing phase (1).
- Add an input (2)
- Select "Encoder push" -> RTMP
Copy the provided stream URL & Key.
Back in your Solo configuration, paste the provided Stream URL & Key
Be sure your Solo is online and connected to your video source. Then click on Go live from the Solo portal.
If your preview looks correct on LiveU Studio, everything is ready to go. Simply hit the “Start publishing & record” button on LiveU Studio.
Don't forget to stop the stream after your live event (in Solo AND LiveU Studio).
In case of trouble, set the following publication values on your LiveU Solo unit:
- Override resolution enable = 720p
- Bit rate enable = 2500 Kbps
- Frame rate enable = 30 fps
Can't find the right answer?
Contact the LiveU Studio Support team via our Live Chat.